Steel and Aluminium
The advantage of the steel structure has to be its strength and the ability to add strength to it in certain places such as a motorcycle or tyre carrier . No additional cabin subframe is required The disadvantages being it weight and the possibility of interior cold spots being caused by breaching the thermal barrier between outside and in .
GRP Sandwich
The advantage of this material is that it is very light weight and can be cut to any size and shape easily. It is totally insulating and does not breach the thermal barrier between each side. The main disadvantage being it lacks structural strength . Although more than strong enough to serve as a cabin you cannot mount motorcycle or tyre carriers on it. You do require an additional subframe for this type of cabin
We decided on the GRP system and then set about identifying someone who could built the cabin to our specifications. We soon discovered that there are very few if any companies in the UK with the experience we required so we moved our search to Germany.
We had a good idea of the type of cabin we wanted and I sent some preliminary plans to several German companies . Some of the replies were instantly discounted on price alone but we did get a favourable response from a company called Ormocar in Hauenstein in Germany. We arranged a visit to their premises and were very encouraged by the quality of their work. At this stage we were testing the water but came way from that visit very positive.
The company Ormocar have existed for many years and have produced literally hundreds and hundreds of cabins ranging from small demountable pods that go on the back of Landrover type vehicles through to 30 ton trucks with quad bikes and small cars in the rear. We liked what we saw.
For the next year we did our research and contacted many people with Ormocar cabins and couldn't find any negative comments about their quality. We saw cabins that had spent many years in places like south America without any problems. The decision was made that this was the company that were going to build our cabin .
We attended the show at Bad Kissingen for several years had seen hundreds of cabin interiors and as everyone does we made our design by picking elements from all of them . Cabins made by Unicat, Fuess, Action Mobil and Bocklet all had big influences on our choices
Having had the general floor plan marked out on our living room floor in black insulation tape for two years we settled on this plan, although we knew their would be variations on the way.
For example a a last minute change was made to the rear of the cabin. I would like to be able to say this was added as we had concerns over our departure angle. However, the truth is that we simply liked the look of the angled rear end.
I spent many weeks drawing the designs. I opted to use Google Sketchup as the design tool. Part of this program is called layout and this is great 2 dimensional program that is easy to learn and allows you to export the drawings as a layered PDF. I have placed links on the plans page for anyone who wishes to see them.


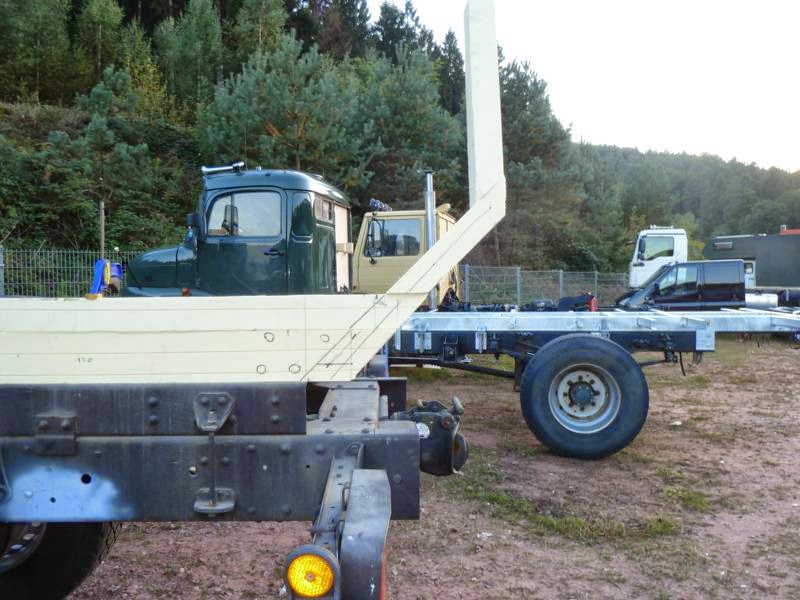
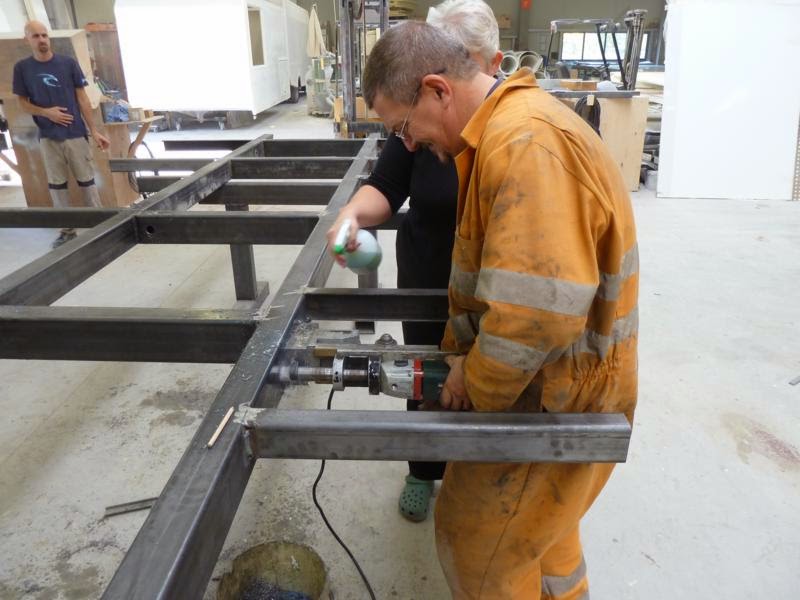
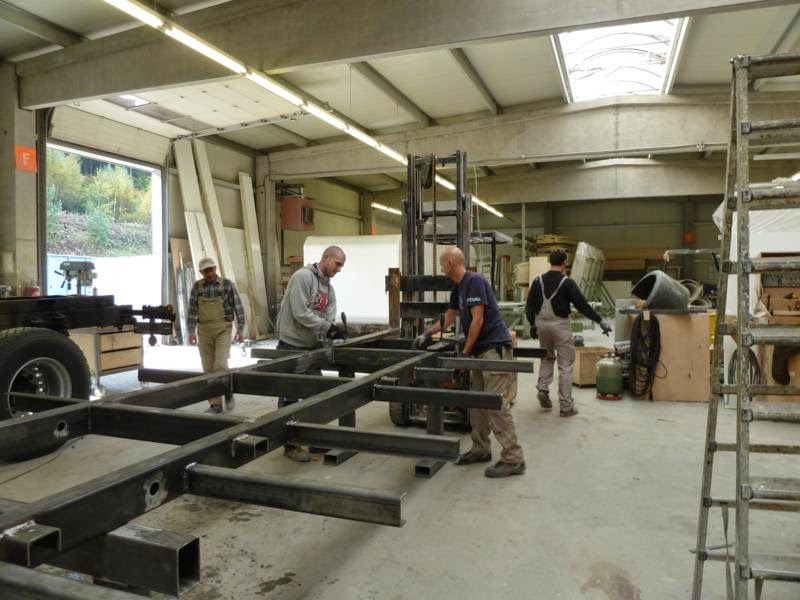
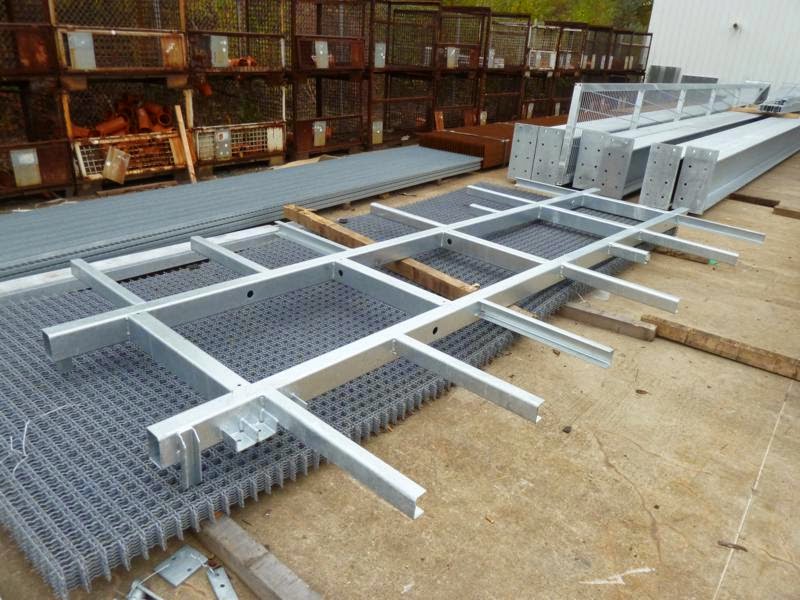
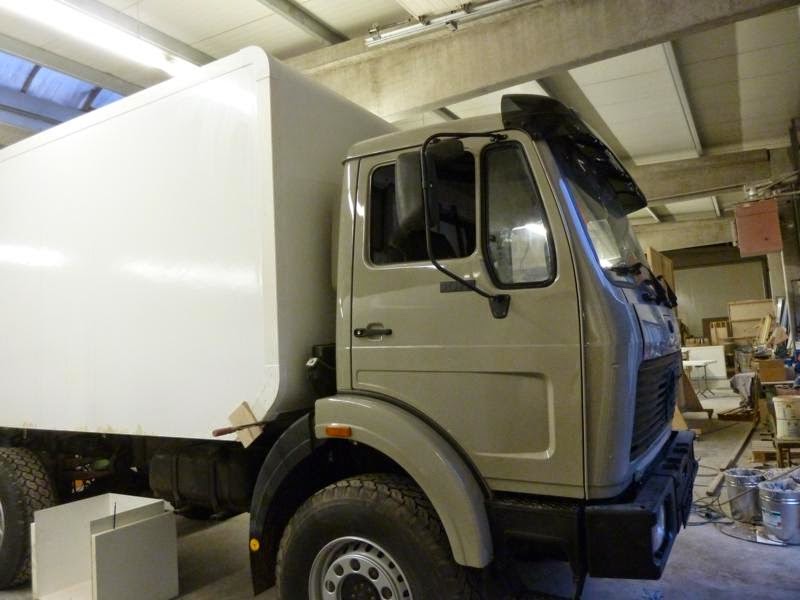
The cabin was constructed very quickly once the panels had been made . They also had to make the steel subframe that the cabin was to sit on .This was made from 100mm channel and finished with galvanising


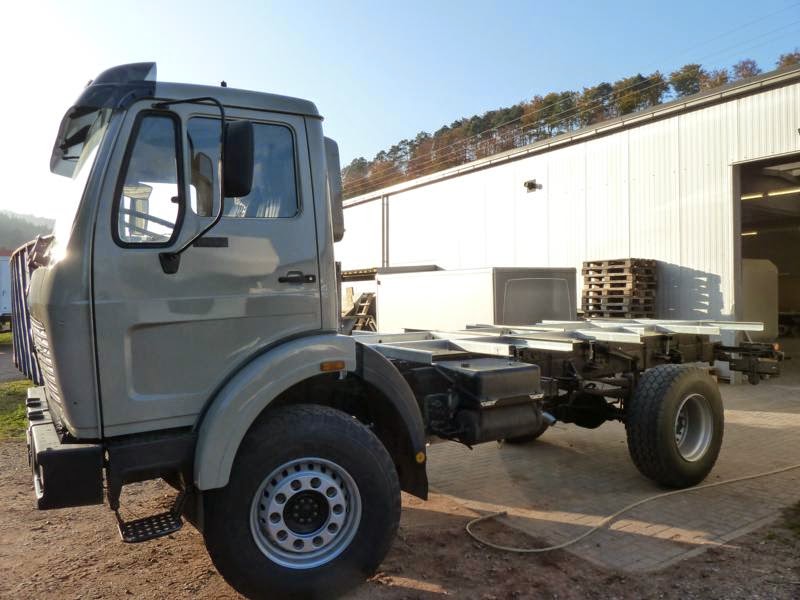
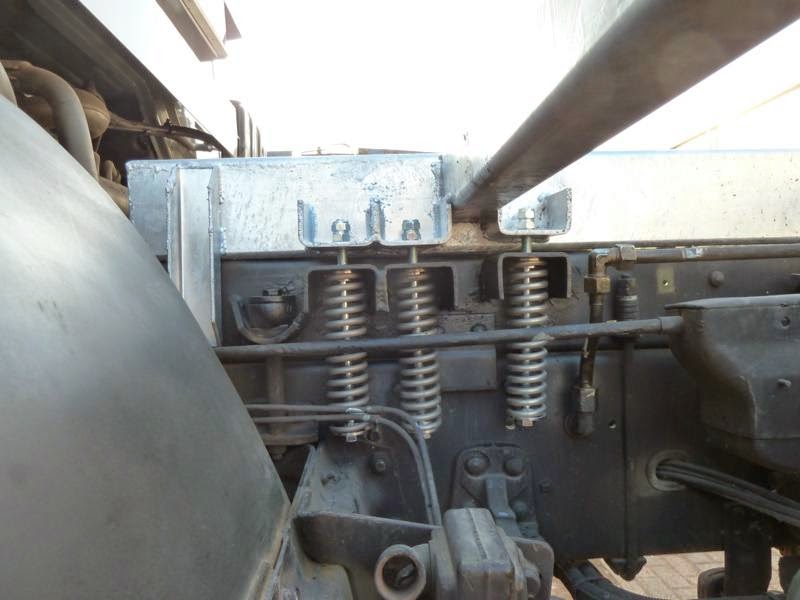
The subframe was mounted onto the vehicle secured at the rear with a plate but allowed to twist on its spring mounts at the front and centre. This design reduces the torsion that transfers from the chassis to the cabin .
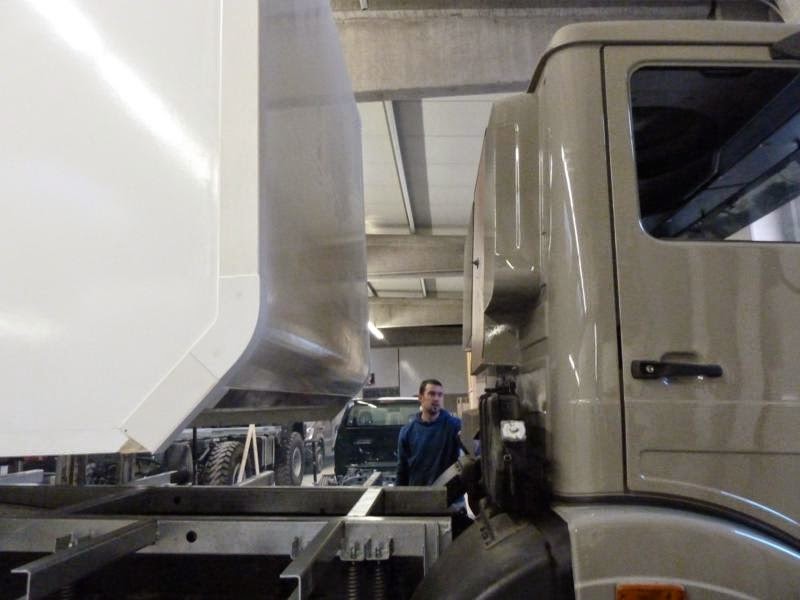
Once the torsion free subframe was in place the cabin was mounted onto the subframe and secured with high tensile bolts . The lifting of the cabin onto the vehicle was a very nervous moment but the vehicle was instantly transformed into a Camper.


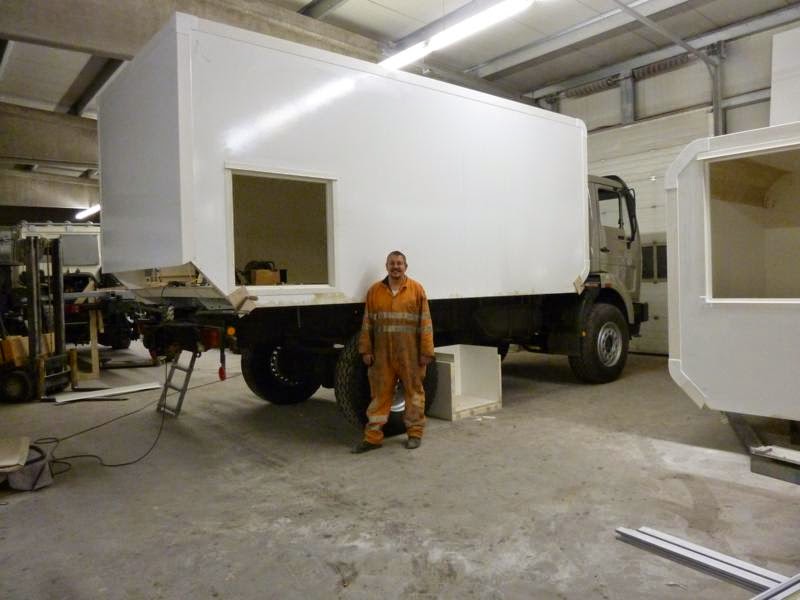
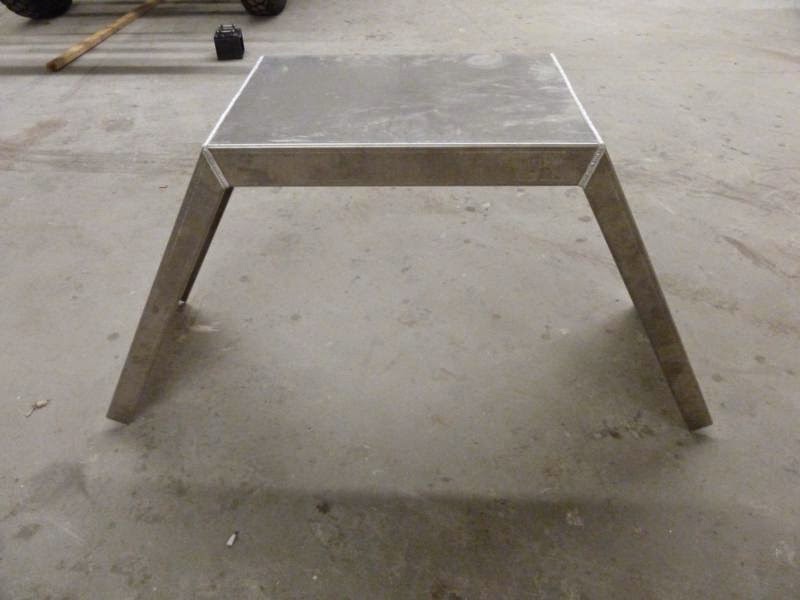
The cabin was secured and the step step box was attached. All the doors and hatches were completed.
We made wheel arches in aluminium and these were attached
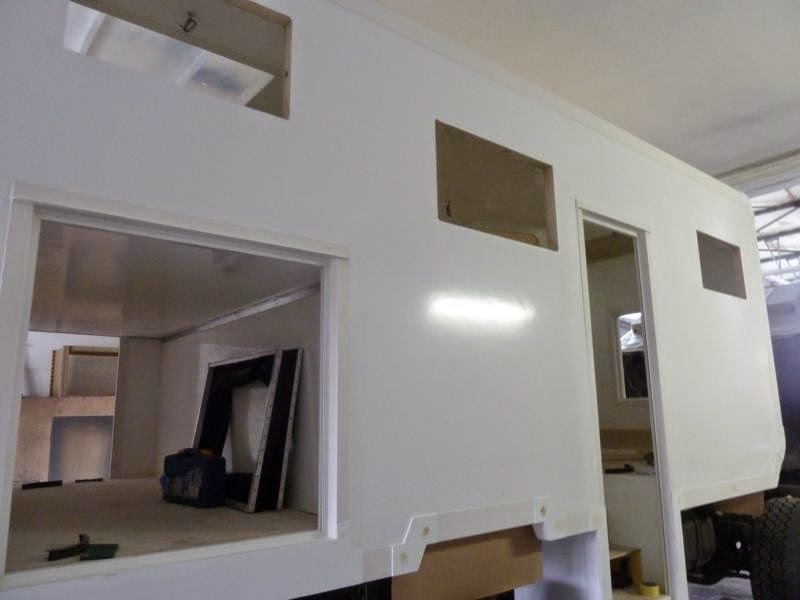
All the window apertures were cut including the large roof hatch over the bed. All of a sudden the dream was becoming a reality .


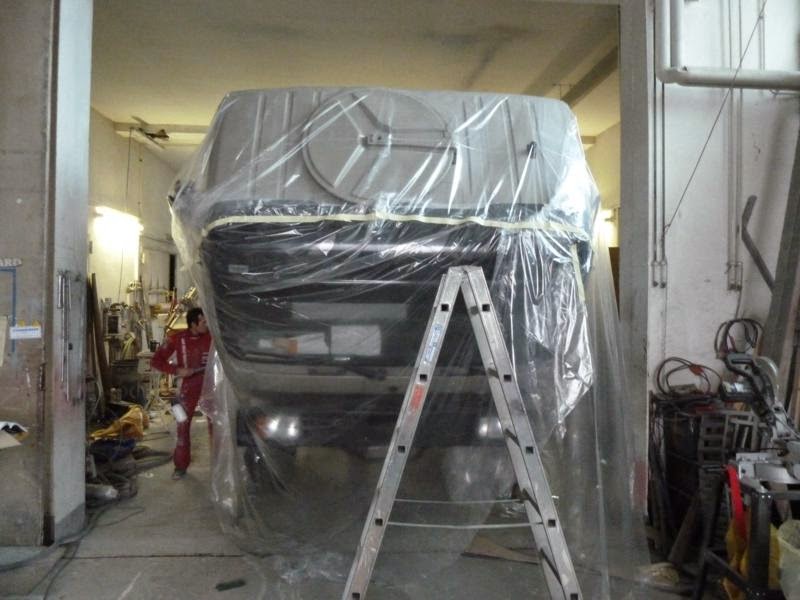
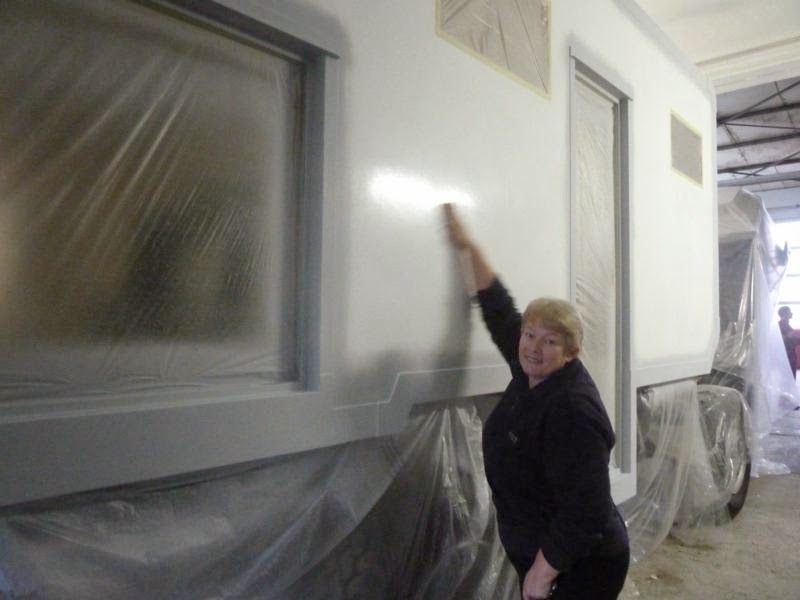
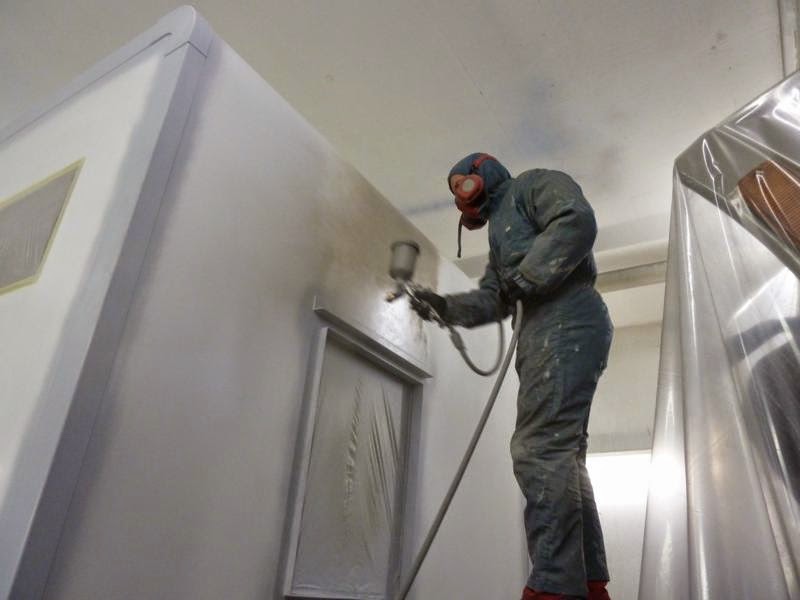
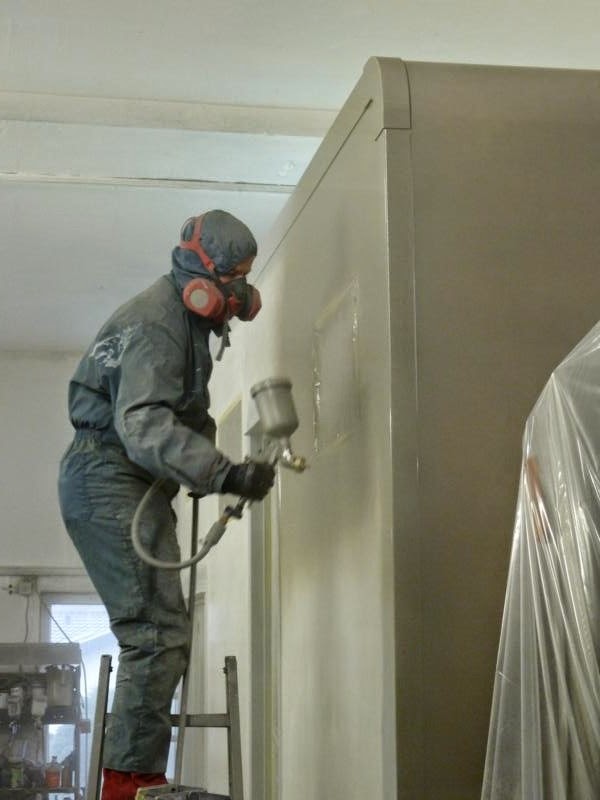
The vehicle was then taken back to the painters to have the cabin painted . Again We worked with the painter after a few days a completely different vehicle emerged .

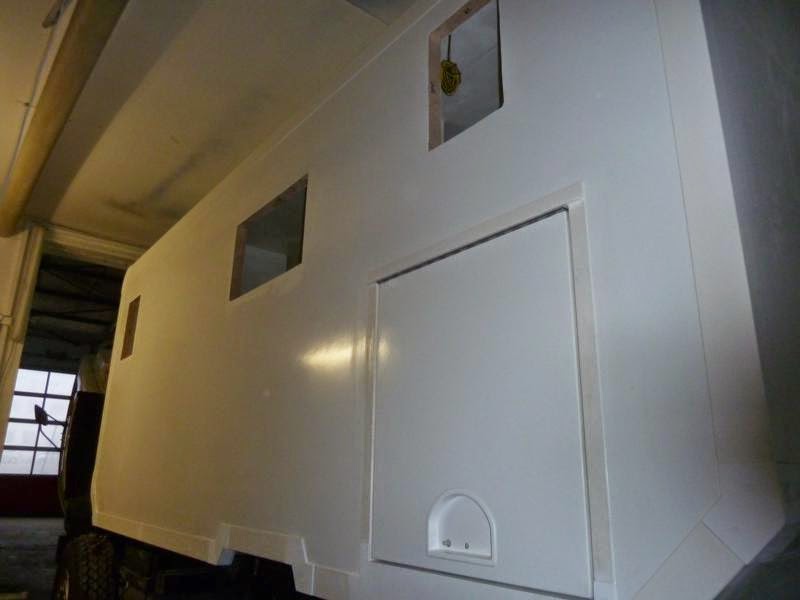


The vehicle was returned to and left with Ormocar for the final fitting of windows and doors .
We chose chose Seitz S4 windows. Ideally we would like to have fitted glass windows such as KCT, however the budget didn't extend this far. We did however push the boat out and have a KCT porthole fitted in the cabin door.
Once all the doors and hatches were refitted the cabin was complete , the only thing left to do was the minor task of fitting out the whole interior, electrics, plumbing, furniture, heating, kitchen and toilet .